Good day!
For those who constantly work with graphics, the task of removing the background from an image is very simple and mechanical. It's another matter if this is your first time encountering this ... 👀
In general, the ways of solving this problem can be different. You can use professional graphics editors like Photoshop or Gimp (but they are not always easy to deal with), or you can choose simpler programs (where in two clicks any novice user can remove or change the background on any of the photo).
Actually, in this note, I decided not to bypass any of the methods and invite you to make an independent choice (for whom and with what it will be easier to work). The article will provide 4 methods, each of which provides step-by-step recommendations.
👉 Note!

Online photo editors: the best services (including analogs of Photoshop in Russian) - see the selection
*
4 ways to remove the background from an image
❶
Using online services
Site # 1 - //burner.bonanza.com/background_burns/
Site # 2 - //www.remove.bg/ru/
Perhaps using online services is one of the fastest and easiest ways to remove the background from an image. Judge for yourself: you don't need to install anything, you don't need to understand the intricacies of editing, the whole operation takes place in a matter of seconds!

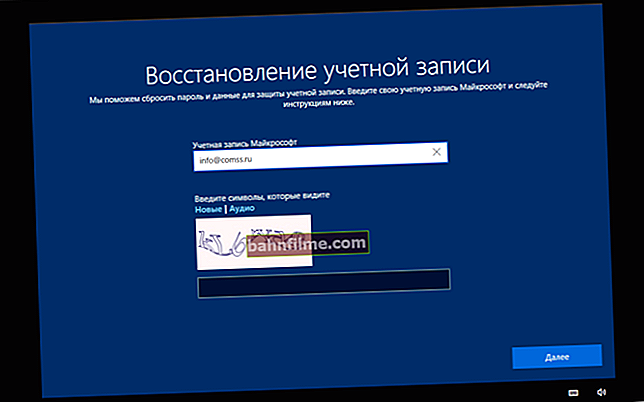
Press the "Choose a photo" button to select a photo
However, there are a couple of downsides:
- firstly, I would not recommend uploading any personal photos to such services (at least those that you would not like to show);
- secondly, such services can process far from all photos (where a complex drawing / relief is encountered, the contour may be cropped in the wrong place).

An example of how Background Burner works
Well, the rest is simple: they pressed the download button, selected a photo, and after 10-30 seconds. see options for how you can remove the background (or how to burn it in English). An example of work is shown in the screenshot above.

It was - it was
❷
With the help of "Photo-Master"
Website: //photo-master.com/
"Photo-Master" is a program for editing photos and pictures, designed for novice users (ie all actions in it are very simple).
Nevertheless, the editor allows you to do all the most necessary and useful things: compress pictures, remove (or change) the background, trim jagged edges, restore old photos, etc.
The screenshot below shows an example (result) of how you can change the picture in 2-mouse clicks.

It was - it is (with the help of "Photo-Master")
And the most important advantage (compared to online services): you can process even fairly large and complex photos. In addition, all actions with the photo take place only on your PC (which increases privacy).
Below I will consider the steps to remove the background in the "Photo-Master".
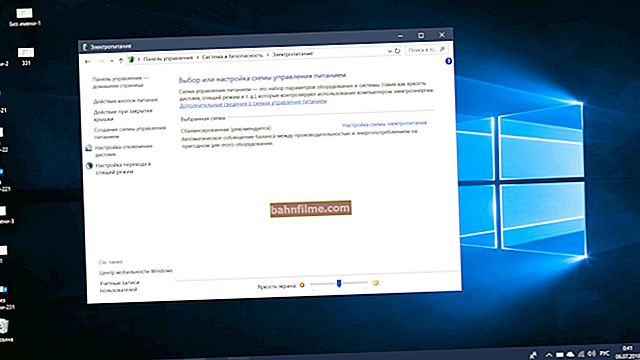
1) First, open the desired picture in the program, go to the section "Instruments" and click on the tab "Background replacement" ... See example below. 👇

Tools - background replacement / "Photo-Master"
2) Then you need to click on the tool "An object" and put a few points (lines) on the object (s) that you want to keep (i.e., what you do not need to delete).
Please note that there is no need to colorize the object completely (I just poked two lines on "my dog" that came close to my hand).

Object selection (what you need to leave) / "Photo-Master"
3) Next, click on the tool "Background" and put some dots / lines in the background (i.e. on what needs to be removed!). Almost instantly, the program in auto-mode will delete everything unnecessary (see example below).
Note: note that in the example below, around the dog, there is no longer a brown background (as in the previous step), but gray-white squares (they mean that there is no background at all, i.e. it has been removed).
Red and green stripes will be invisible in the final image (these are just temporary markers)!

Background selection (what needs to be removed) / "Photo-Master"
4) The resulting image can be saved in different ways:
- with a transparent background;
- with a background filled with monochromatic paint (white, black, red, etc.);
- replace the background with your picture (for example, you can move yourself from the home atmosphere to the beach, or, like with a dog, to the forest ... 😉).

Saving the resulting image
In general, these are all actions. As you can see, everything about everything will take less than a minute ...
❸
Using MS Word
Officer. website: //www.microsoft.com/ru-ru/
The Word program wins over other methods in that in many cases it is already preinstalled on the PC (which means there is no need to "tinker" with installing and configuring new software 👌).
In addition, for the solution of our problem - it is perfect! It is only worth noting that a modern version is needed (2019!).
*
1) And so, in MS Word, you first need to open the menu "Insert / Pictures" and add an image from your disk to the document.

Insert - Pictures
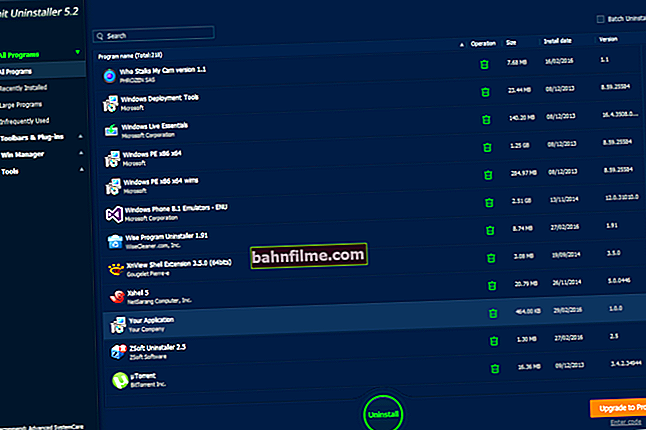
2) Next, select this image (by clicking on it with the left mouse button) and go to the menu "Picture Tools / Remove Background" ... See screenshot below 👇.

Working with pictures - remove background!
Most often, in simple pictures, Word automatically finds the background and highlights it in red (note: everything that is highlighted in red will be deleted). 👇
However, you can modify its selection with the help of a special. brushes:
- "green" - those areas that need to be left;
- "Red" - those areas that need to be removed.
When the picture is "marked up" as you need, just click on "Save changes" .

Marking areas
Woo-a-la! 😉
The background has been removed, then you can work with the picture both in Word and in other programs (note: to save it - right-click on it and select from the menu "Save as..." ).

Issue solved - Word removed the background!
❹
With Adobe Photoshop
Official website: //www.adobe.com/ru/
Probably, almost every user is familiar with this graphic editing harvester. You can do a lot in it, but the tools, frankly, are not very friendly to the novice user ...
Below I will show you one simple option for cropping an extra background.
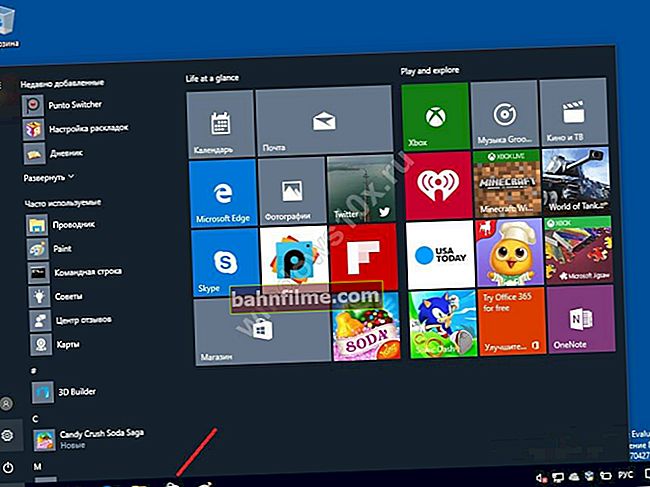
1) Launch Photoshop, open the picture, and click on the tool "Magic Wand" (magic wand). Then just click on the background - it should be selected automatically (if only part of the background is selected - hold down the Shift key and select all the remaining parts).

Select the background of the picture / Photoshop
2) Next, you need to open the section "Select" (select / highlight) and click on the tool "Inverse" (inversion). As a result, not the background will be selected, but the element itself (in my example "Dog").
Note: inversion can also be performed by pressing the Shift + Ctrl + I buttons.

Inversion
3) After that, copy the selected object (the combination of buttons Ctrl + C).

Copy the picture
4) Create a new file by clicking on the menu "File / New File" ... If you need a transparent background, select the option "Transparent" if white - "White" .

Create a new canvas with a transparent background
5) It remains just to paste the previously copied object (for this use the combination Ctrl + V). Mission accomplished...
To save the picture - go to the "File" menu and select the "Save as ..." option.

Insert and protect the picture
*
Add-ons are welcome ...
Happy work!
👣
First published: 03.04.2019
Correction: 07/03/2020