Good day.
When the question is about diagnosing and checking the status of the disk, it usually comes down to some complex terms, utilities (where most of the parameters are not clear), etc.
And, of course, all this does not mean much to most users, and their goal is simpler: to quickly assess the state of the disk, and find out if everything is in order with it (especially when the computer starts to freeze, slow down, some errors and etc.).
After the release of a new version (in October of this year) of the famous utility Victoria - it seems that this issue is very close to a solution. It allows literally in 5 minutes. deep enough to assess the state of the disk (moreover, it will be handy for any user). What else do you need?
I will give a small example of testing a classic HDD below (with conclusions).
*
How to diagnose a disk
STEP 1
In this article (as follows from the above) we need Victoria, the new 5th version. That is why our first step is to download and install the utility.
👉 Victoria v. 5
Official site: //hdd.by/victoria/ (link to download on the official site at the very bottom of the page 👇)

Legendary utility for checking the status of disks. The current version supports not only classic hard disks (HDD), but also newfangled NVMe SSD, SSHD.
The program is translated into Russian, compatible with Windows 7/8/10.
Note: how to work in the old version of Victoria.
✔
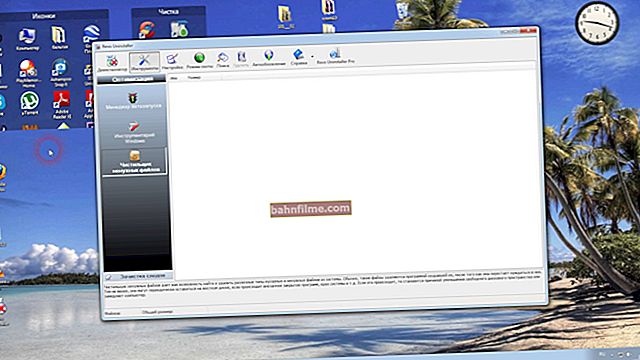
Installation of Victoria is not required, it is enough to unpack the downloaded archive and run the executable file "Victoria.exe" .

Extracted archive from Victoria
👉 Addition!
If you want to check the disk on a computer that does not have Windows installed (or it does not boot), you will need to create a bootable LiveCD-flash drive (and start Victoria from it).
*
STEP 2
Next, pay attention to the top menu of the program: in the tab "Language" choose "Russian" ... The utility will restart in the Russian version (see the example below in the screenshot).

Victoria 5 - language selection
*
STEP 3
Now let's move on to checking the disk ...
And so, first in the utility menu (on the right) select the one you need from the list of disks (orient by volume and model name). If the drive is detected and the utility "sees" it: in the passport you can see the serial number, size, exact model, etc. properties of the drive.
Then click on the button "S.M.A.R.T" (this is a menu with information about the status of the disc).

Select Disk and View SMART
If everything is fine with the disc - Victoria must make a conclusion "Good" (see status at the bottom of the window). Also pay attention to line 5 (number of reassigned sectors), ideally, its properties should be "0".
In the "Remaining" column, Victoria with green, yellow and red circles shows the state of this or that attribute.

SMART disk (note the line of reassigned sectors)
*
STEP 4
After that, we move on to the main thing - testing the disk. Before launching it: close torrents, browsers, editors, games and other programs.
I recommend running a quick test - button "Quick" (see arrows 1 and 2 in the screenshot below). During the test, no action on the PC / laptop is required! Testing time 2-5 minutes, on average (depending on the drive).

Testing quick (Quick) - Victoria 5
👉 Conclusions on the test (see picture above):
- if everything is fine with the disk: at the very bottom of the window Victoria will write "Scan results: no warnings, no error" (i.e. no errors were found), and you will have only gray blocks (see arrows 3 and 4);
- if green and orange blocks are found: this is not good, but in itself does not indicate a problem with the disk. Perhaps, when checking the disk, resource-intensive applications were launched (it is recommended to run the disk again by booting from an emergency flash drive, see STEP 5 👇);
- red and blue blocks indicate disk problems.It is recommended to scan the drive again, but not fast, but full (if the number of red and blue blocks is large (~> 5) and it grows over time, then the disk probably began to crumble, and it is time to change it);
- also pay attention to the graph of the speed of reading data from the disk, which will be built by Victoria. Ideally, its appearance should resemble a "straight" line with small deviations (or slightly sloping, without large and sharp drawdowns, see the screenshot below).

Quick chart analysis (from Victoria 5)
In general, based on the S.M.A.R.T readings and a small test for 2-5 minutes. you can quickly and relatively easily draw initial conclusions about the condition of the disk. Agree, most users can do this ?!
*
STEP 5
In some cases, the disk (HDD / SSD) needs to be rechecked not from under Windows (which is installed on it), but by booting from a special. emergency flash drive (this method gives more accurate results).
For these purposes, the LiveCD from Sergey Strelets is perfect (it comes with Victoria and it can be easily unpacked to a USB flash drive). An example of a check with a normal graph of the sequential speed of access to a drive is shown in the screenshot below. 👇
👉 Help!
LiveCD for Windows disaster recovery

Victoria - testing a disk from a LiveCD
PS
By the way, the service menu in Victoria 5 has several interesting tests and features:
- adjusting the noise from the disk (more on this);
- rotational speed;
- operations with the security subsystem;
- cache and temporary functions;
- SMART tests.

Menu service - interesting options in Victoria 5
*
Additions and comments are welcome ...
Good luck!
👋
First published: 23.11.2019
Correction: 05/05/2020