Good day!
Unfortunately, many users do not think at all about the safety of their data, even sometimes when they are working on a document for days and weeks! But even a simple virus infection (or a failure in the file system of the disk) - and the files may disappear ...
I hope that you came to this article not when everything was already lost, but prematurely, in order to do it in time backup(in English - backup) your important data.
In this article I will show a couple of examples of how you can quickly and easily backup your folders, files, and even a whole disk. Moreover, you can configure it to be created automatically, without your participation!
In general, a timely backup saves a bunch of nerve cells in place, saves time, and makes you calmer 👌.
So, let's begin...
👉 Tip: By the way, if we are talking about individual files, then just copying them to a third-party media is enough as a backup. This, of course, has its own inconveniences - but this is already something!
*
Making backups
Option 1: auto-backup using a cloud drive
👉 Yandex disk is good first of all because it is extremely easy to use, and you can configure everything so that your folder with documents (or even the entire specific HDD) is automatically copied to the cloud disk!
Here I will briefly show you how to do this (I omit the installation of "Yandex disk", it is standard).
1) First you need to enter the Yandex disk settings (there is a special icon in the tray, see the example below 👇).

Disk settings
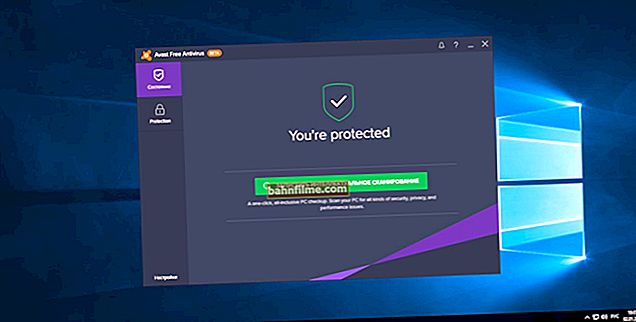
Next, check that the program will automatically start when Windows starts up.
Then open the folder location options.

Setting folder locations
Carefully look where the Yandex disk directory will be located, which will be synchronized (in my case: "C: \ Users \ alex \ YandexDisk").

Find out (configure) the folder for synchronization
Now open properties folders "My documents" (in it, by default, many users store their documents, files, save from games, etc.).

Open the explorer and go to the properties of the "Documents" folder
You need to move the folder with the documents to the directory that is synchronized with the Yandex drive (in my case - "C: \ Users \ alex \ YandexDisk").

Move it to any Yandex disk folder!
Everything!
Now any files and documents in the "My Documents" folder will be automatically saved not only on your hard drive, but also in the cloud. Conveniently?!
Of course, you can synchronize any folders and directories on the HDD in the same way ...
*
👉 To help!
Yandex Disk: how to use it, upload and download files, photos. How to set up auto-create a copy of my documents
*
Option 2: backup to an external HDD or flash drive
What you need for work
1) Spec. program (s)
EaseUS Todo Backup Free
 Official website: //www.easeus.com/backup-software/tb-free.html
A free and very handy program that allows you to easily create backups of anything and everything (documents, folders, disks, etc.). The program impresses with its simplicity and reliability: in just a few clicks of the mouse, you can arrange everything (below, in the article I will show with examples how all this is done).
Additional features: cloning disks (including system ones), the ability to set up schedules, create an emergency flash drive (if suddenly Windows cannot boot), view and select files that you will restore from a backup.
Among the shortcomings: there is no support for the Russian language yet (although the developers are expanding the language environment, our turn will soon come to us ☺).
2) USB flash drive or external hard drive
It is most reasonable to make a backup to some kind of external media (which will calmly lie aside from the computer / laptop, and will help out if something happens).
Just imagine yourself - if you make a backup copy to the same disk that you are using - then in the event of a breakdown (for example) - this backup will not help you in any way.

A flash drive or external drive (which is even better) - should be large enough to fit all your documents and files that you want to save. Let's say, if you have a 60 GB system disk, and you want to make a backup, then you need a flash drive (disk) with at least 80-90 GB!
*
Making a disk backup
And so, we will assume that the program is already installed. In the example below, I will show how you can make a backup copy of the system partition with Windows (most often, after all, you have to copy it).
The first thing to do is to click the "System Backup" button located in the top menu of the program (see screenshot below).

EaseUS Todo Backup: make a backup of the system disk
Next, you need to set a number of parameters:
- select your system drive (number 1 in the screenshot below);
- specify the location where you will save (number 2 on the screenshot below. Personally, I recommend and recommend always saving to a third-party media, I have an external hard drive);
- Plan name: the name of your backup is set here: it can be anything, if only you yourself remember what you have saved there, for example, in a month or two;
- Description: description of your backup (similar to the previous one, it can be anything);
- Schedule: if you need to make a regular backup, you can configure it once, and then the program will do it automatically. By the way, a screenshot of the schedule setting is shown below;
- Proceed - the button to start the operation.

System Backup - settings (description, see screenshot)
As for the schedule: it is done quite well in the program. You can set everything in 2-3 clicks with the mouse: specify how hours you need to do this (daily, weekly, monthly), then select the days and select the time. In general, everything seems to be simple ...

Schedule (for those who want to make regular backups)
After specifying the main parameters, in the next step, the program will ask you to specify the drive (and folder) where the backup will be saved (by the way, it will be a regular file).

System Backup - select the disk where to save the backup
After that, the program will start creating a backup. Pay attention to the "Estimated time remaining" - this is the remaining running time. In my case, for a ~ 60 GB disk, the program took about 16-17 minutes. Pretty fast.
Note: The external drive was connected to a USB 3.0 port.

EaseUS Todo Backup - operation status
The disk backup is ready: the name of your backup will now be displayed in the main window of the program, opposite it is the button for recovery (Recover, see the screenshot below).

EaseUS Todo Backup - system disk backup is ready!
*
Back up folders and files
It is performed, in principle, in the same way as creating a copy of the disk (which was done in the previous step). First, run the utility and click the button "File Backup" .

EaseUS Todo Backup: starting to create a backup of files and folders
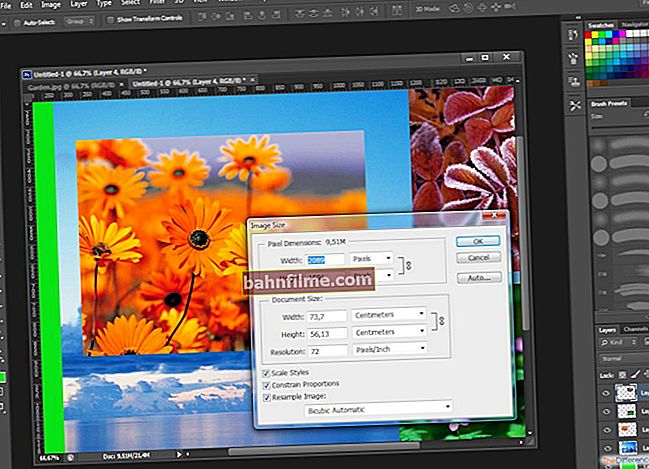
Next, you need to specify:
- Select the file or folder: folders (or even entire drives) that you want to add to the backup. For example, I selected the "My Dosuments" folder;
- Destination : where to save the backup (preferably on a third-party media);
- The name and description can be set by any (Plan name, Description);
- Schedule: if necessary - ask (I usually never specify - when I decided to make a backup, I do everything manually ☺);
- Proceed - the beginning of the operation.

File Backup: specify which folders are needed for backup
In general, the program quickly created a backup of my documents. By the way, the backup file itself can be written later on to another medium (or even uploaded, for example, to a Yandex disk, somewhere in the cloud).
👉 Help!
Cloud storage: what, how, why? How to connect a cloud drive to Windows, Android - secure storage of files in the cloud, available anytime, anywhere

Folders saved: backup ready
*
Recovery example (and an overview of the files in the backup)
And so, you have lost some file (or even a folder), and you decided to restore this data from the backup.
Launch the EaseUS Todo Backup program and click on the button "Browse to Recover" (view backup).

EaseUS Todo Backup - see what's backed up
Next, find on your disk where you saved the copy (s), and open the desired one.

Browse to Recover - select the backup you want to open
After that, you can view your backup: folders, files, everything is shown in a tree-like form (clearly and simply). You just need to check the boxes which folders you want to restore (number 1 on the screen below), select the folder where you will restore the selected data from the copy (numbers 2, 3 on the screen below), and, in fact, start the process by clicking on the button "Proceed" .

We look at and set the parameters: which files and where we will restore them
After a while, folders and files will be restored. Convenient and fast ...

File Recovery - recovery process
*
Create and boot from an emergency flash drive (if Windows won't boot)
Well, and the last thing I wanted to dwell on in this article. I recommend that you create one more thing: an emergency flash drive, in case your Windows suddenly does not boot. After all, something needs to be loaded, where you press a button and the system disk will be restored ☺!
In this case, EaseUS Todo Backup provides for the creation of an emergency disk / flash drive. The whole process is very simple and does not take much time (in my case it took about 10 minutes).
Click tool "Tools" , and select "Create Emergency Disk" (creating a rescue disk).

Creating an emergency flash drive or disk
Next you need:
- choose to create a WinPE disk (the compatibility of the Linux version of the bootloader is much worse: perhaps your mouse will not work, the USB ports will not be visible when you boot from this emergency flash drive);
- specify the correct letter of the flash drive (see screen below);
- press the "Proceed" button.

Create emergency disk // select the connected USB flash drive and OS, which we will write to it
By the way, the program will automatically download the required disk image from the official Microsoft website and write it to your USB flash drive. Convenient enough.

The flash drive has been successfully written!
###
How to boot from this USB stick and work with EaseUS Todo Backup
Well, in general, in most cases, it is enough to call the so-called Boot Menu, in which you can select the device from which to boot. As another option: you can adjust the BIOS accordingly (which is longer in time and creates some difficulties for beginners).
👉 Background!
The BIOS setup topic and the Boot Menu call are quite extensive. Most often, it is enough to press the F2, or Esc, or F10 button (these are the most popular) immediately after turning on the laptop / computer. But the cherished menu does not always appear ...
Therefore, in order not to repeat myself here, I will give several articles below that will help you!

1) How to configure BIOS to boot from a flash drive or disk (CD / DVD / USB)
2) How to enter BIOS on a computer / laptop e
3) Hotkeys for entering the BIOS menu, Boot Menu, recovery from a hidden partition
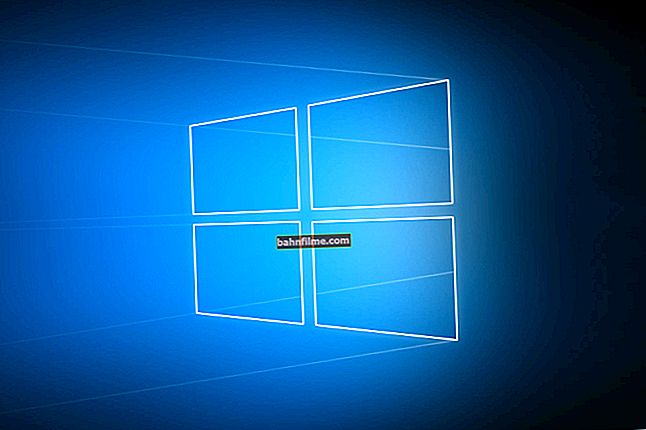
Device dependent: call Boot Menu can happen in different ways: on my laptop there is a special button for this - you turn on the laptop by pressing it, and the desired menu appears. Conveniently!

Button on laptop to view BIOS settings and launch BOOT Menu
An emergency flash drive (which we created a little earlier in the article) should appear in the boot menu. We select it and continue downloading.

Boot Menu - choose a flash drive to boot
If the USB flash drive was written correctly, there were no problems with the BIOS settings - then you should see about the same window of the EaseUS Todo Backup program as if you launched it from under Windows. First, click the button "Browse to Recover" .

Browse to Recover - browse mapped drives and view available backups
Next, you will see a list of drives connected to your PC: open the one where you saved your backups and select one of them.

Available backups on disk
Actually, it remains only to start the recovery (example below in the screenshot).

To start recovery - click the "Next" button.
It is worth noting that if we are talking about a backup copy of a folder (files), then you can also view the contents of the backup, and restore not everything entirely, but only certain data (example below).

View files in a backup - you can only restore selectively!
*
Actually, this is all that I wanted to tell today ✌.
PS: all users are divided into two types: those who have not yet made backups, and those who have already started making them ...
Good luck!
👋
First publication: 08.12.2017
Correction: 04/03/2020