Good day everyone!
Now in every house / apartment there is already more than one device that can be connected to the Internet (and increase its functionality).
If your laptop (or computer) is connected to the Internet via a USB modem or a dedicated line, then you can create your own Wi-Fi access point at home for various mobile devices: phones, tablets, etc. the laptop in this case will act as router .
In this article, I will look at a few simple ways to do this. As an example OS, Windows 10 will be used (as the most modern one for today), but, by the way, the method is also relevant for Windows 7/8 (note: method 2 - using special utilities).
And so, closer to the topic! 👌
*
Sharing Wi-Fi from a laptop
Before configuring the access point:
- 👉 your laptop must be connected to the internet. For example, using a USB modem (3G, 4G), via a dedicated line (LAN cable), etc. before distributing the Internet, this device itself must be connected to it;
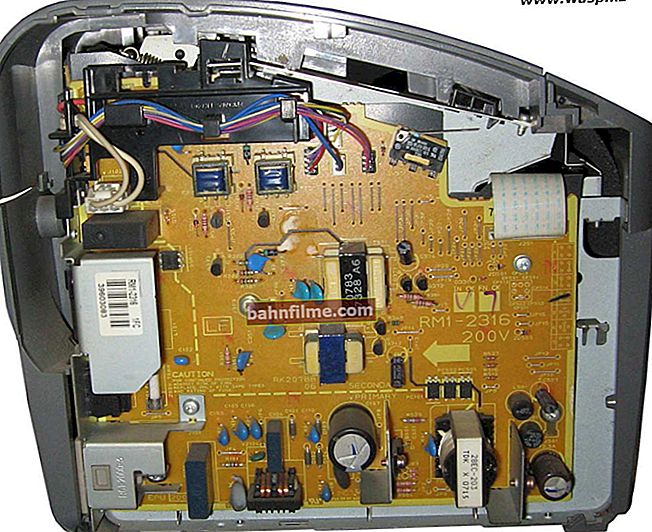
- 👉 if you want to distribute the Internet from a laptop to a PC, you will need to install a Wi-Fi adapter on your PC (since they usually come without them). It looks like a small box (often the size of a USB flash drive) that connects to a USB port (note: I brought one of the most common models for home in the photo below, of course, there are others. You can buy such things cheap in Chinese online -stores).
Wi-Fi adapter
- 👉 As for laptops, they usually already have a built-in Wi-Fi adapter (and if you have already connected to Wi-Fi networks, then everything is in order, and you can not configure anything else). In general, besides checking the very presence of the adapter, you need to check if there is a driver for it to work!

👉 To help!
How to install, update, or uninstall a Wi-Fi (wireless network adapter) driver.
*
Method 1: mobile hotspot (for Windows 10)
👉 If a you have an updated version of Windows 10 (and the required update was on August 2, 2016) - then you have the ability to quickly and easily create an access point without installing or configuring anything ...
Therefore, first I will consider this particular option, as the most relevant today.
1) First, open the START menu and go to the parameters (see the screen below 👇). You can also press the button combination Win+i (of course, without the "plus"!).

Windows 10 settings
2) Next, you need to open the section "Network and Internet" .

Network and Internet / Windows 10 Settings
3) From the list of subsections on the left, select "Mobile hot spot" , and then put it into "On" .
The network name and password will be generated automatically (if you wish, you can change it manually).

Mobile hotspot
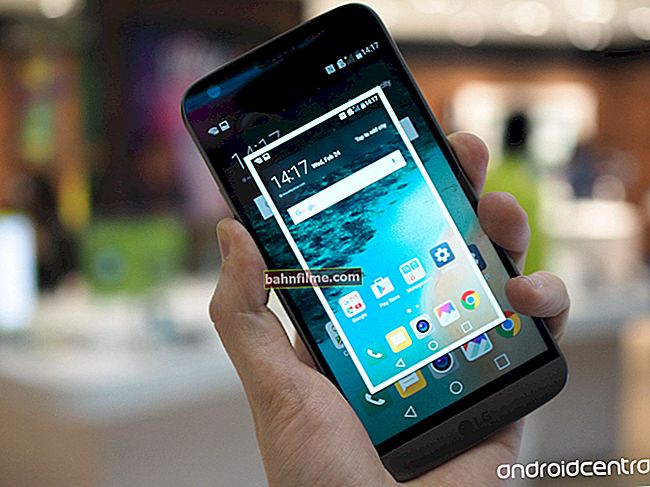
4) Actually, in order to use the Wi-Fi network, you just need to connect to it.
Below is a photo of a mobile phone with found Wi-Fi networks, including ours (which was created in the previous step).

A Wi-Fi network is available on the phone ... / it remains to connect by entering the password to access the network
In my opinion, this is one of the simplest, most effective and convenient ways to distribute Wi-Fi from a laptop.
*
Method 2: Wi-Fi sharing apps (universal)
👉 This method is good for its versatility (works in all versions of Windows: 7, 8, 8.1, 10) and simplicity: the utilities will configure and run everything for you, depending on the parameters you specify.
There are a lot of similar utilities: MyPublicWiFi, Connectify, mHotSpot, etc. Most of them work similarly to each other (at least as far as setting up and running), so in this article I will only consider mHotSpot (as one of the most popular and demanded utilities) ...
👉 To help!

View the best programs for sharing Wi-Fi from your laptop.
mHotSpot
Website: //www.mhotspot.com/download/
A very simple and trouble-free utility that can turn your laptop (computer) into a wireless Wi-Fi hotspot.
How it differs from other similar programs: very simple, free, does not contain unnecessary complex options (not needed by most users).
All that is required from the user (after installation and launch):
- specify the name of the network (1) and password (2);
- indicate whether to share the Internet and from which network (3);
- specify the maximum number of users who can connect to the network (by default, this number is 10);
- Press the "Start HotSpot" button;
- Everything! In my opinion, it is very convenient!
Below on the screen (👇) shows the network settings in mHotspot.

By the way, after you connect to the created Wi-Fi network, the utility will start showing other users who are already working with it, how much information they have downloaded (downloaded), etc.
The design is very simple and laconic, there is nothing superfluous. Overall, mHotspot provides a very reliable, stable and secure connection. I recommend to meet you!
*
Method 3: use the command line (Windows 8, 10)
👉 Not a bad option in general, but not very convenient (you need to enter several text commands, which is not always easy). Works in most versions of Windows 8, 8.1, 10 (in Windows 7 - work is not guaranteed ...). Below I will consider all the steps in order.
1) First run 👉 command line as administrator.
In Windows 10, it is enough to call Task Manager (keys Ctrl + Shift + Esc), and press file / new task ... Then enter in the line "open" CMD, and check the box "Create a task with administrator rights)"... The screen below explains everything.
👉 To help!
Other options for how you can open the command line

CMD as administrator
2) Next copy / enter the following command into the command line:
netsh wlan set hostednetwork mode = allow ssid = "Wi-Fi setka" key = "12345678" keyUsage = persistent
Where:
- Wi-Fi setka - network name (you can enter any name);
- 12345678 - password for access (also change if you don't want half of your neighbors to use your network).
The screenshot below shows the successful creation of the network. Note, if the network is created, you will see the following message:
Hosted networking is allowed on the wireless network service.
The SSID of the hosted network has been successfully changed.
The hosted network user key passphrase was successfully changed.

3) Run our created network. This is done with a simple command, you need to enter it in the same command line:
netsh wlan start hostednetwork
If the command is entered correctly and the network is created, you should see a message that the network is started.

4) Now you can connect phones, tablets, other laptops, etc. to the Wi-Fi network.

network is available / can be connected
5) How to open general internet access.
An important point, because I think that many create an access point for a reason, but so that other devices can access the Internet through it. And for this you need to give permission ...
To do this, you first need to open network connections in Windows (note: on the computer from which you share Wi-Fi ☝):
- press the buttons Win + R ;
- enter ncpa.cpl and press Enter .

ncpa.cpl - View all network connections
Next, you should see all the created connections that you have in the system (in the screenshot below, the connection that we created in the previous steps is highlighted in red).
You need to go to properties the connection through which the laptop itself gains access to the Internet.

Internet network properties
Then open the tab "Access" and put a tick in front of "Allow other network users to use this computer's internet connection" .

Allow Internet Sharing
Remember to save your settings.
After that, perform a couple of operations in sequence on the command line:
- netsh wlan stop hostednetwork (press Enter);
- netsh wlan start hostednetwork (press Enter).
(This will stop and restart the newly created network. It is necessary for the settings we made to be able to take effect).
6) Automate the access point
Of course, after each turning on / off the laptop, so that it continues to distribute the Internet, it is necessary to start the network with the command netsh wlan start hostednetwork ... And this is not very convenient!
Let's fix it now:
- First, create a text file (any), and then rename it to "start.bat" (see number 1 on the screenshot below).
- Next, right-click on it and select "change" .
- Then we copy the line to the file "netsh wlan start hostednetwork" (without quotes, see example below), and save the file.

Creating a Bat file to launch the network
Actually, now it is not necessary to open the command line - just run this file and the network will start working.
👉 To help! // Automation

To make the "start.bat" file start automatically every time you turn on your computer, I recommend that you read my article on setting up startup in Windows 10
*
That's all, I hope with the help of the material presented above, you can independently and quickly create your own access point.
Good luck!
👋
First publication: 03/08/2017
Correction: 01/15/2020