User question
Hello.
Today I accidentally deleted a folder with vacation photos on my phone (they were saved on a microSD card). I took out the memory card and connected it to the computer card reader: I checked it, in fact there is no photo.Tell me, is it possible to restore at least some part of the photo?
Hello.
I think most likely yes. Often, when a memory card stops reading at all, and when it is connected to a card reader: the PC either does not see it at all (which is even worse), or Windows suggests formatting it.
With your "simple" deletion of photos, physically they are also on the memory card (just the phone marked these sectors as not used). ☝
But these sectors can be filled with other information: therefore, if you take new photos on this card (or write something on it), recovery may become impossible! Therefore, I highly recommend removing the memory card from the phone as soon as possible, and nothing on it do not write! 👌
Now there are quite a few utilities that can fully scan your drive, regardless of whether the sectors are marked free or not.
Thanks to this, they will find all the recorded data on it, including all deleted files (which are still "live" and can be recovered). Actually, below in the article I will consider how to do this (I will draw up the article in the form of instructions, all actions will be in steps).
*
Step by step photo recovery
STEP 1. Connect the memory card (flash drive) to the computer / laptop
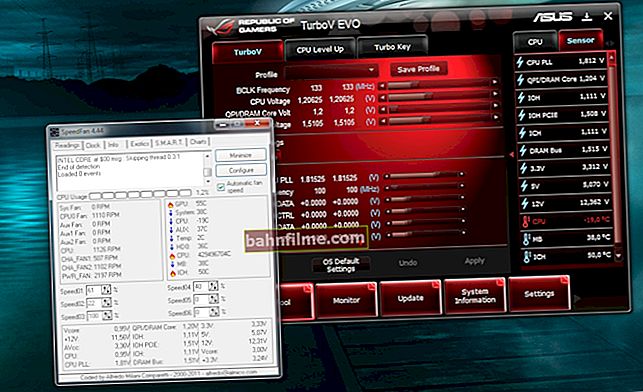
I don't think there is much to comment on here. If you do not have an SD card reader, there are now on sale small universal devices that connect to the USB port (see example below). They are relatively cheap.
👉 Supplement!

Such adapters can be bought very cheaply in Chinese online stores (in addition, they regularly hold promotions, and you can use cashback).

We connect the flash drive to the USB port

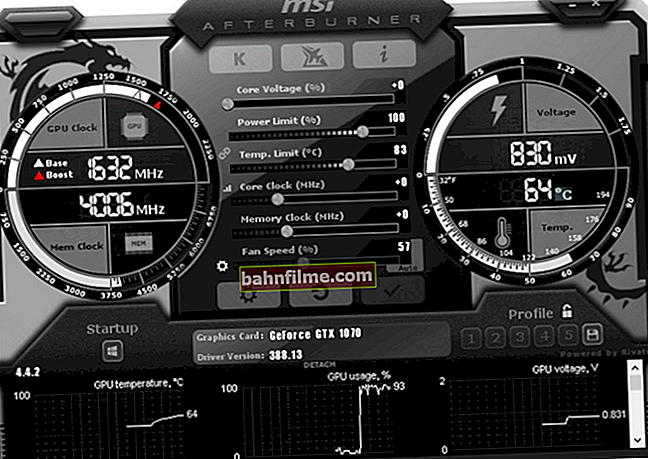
Insert the SD card into the laptop card reader
Important!
You don't need to do this:
- if, when connecting a flash drive / memory card, Windows prompts you to format or check, fix errors - do not agree! Just minimize or close this window;
- do not copy anything to this drive (on which the files are missing);
- do not save recoverable files to the same memory card! Otherwise, the new recorded information will start overwriting the data that has not been recovered.
*
STEP 2. Install one of the special. data recovery utilities
There are a lot of such utilities now. For initial acquaintance, I would recommend choosing one of these:Recuva, R.Saver, Disk Drill, MiniTool Power Data Recovery.
👉 Remark!
 You can download and find a detailed description of the utilities presented in one of my previous articles. Link below.
10 free programs for recovering deleted data: files, documents, photos - //ocomp.info/10-programm-dlya-vosstanovleniya-dannyih.html
For example, I am very impressed with the R.Saver utility. Actually, I will focus on it in this article (screenshots and examples below).
R.Saver
Official website: //rlab.ru/tools/rsaver.html

Main advantages:
- excellent algorithms allow deep scanning of drives and recover even long-deleted information;
- file systems FAT, FAT32, exFAT, NTFS, etc are supported;
- supports many types of drives: HDD, SSD, USB stick, SD card, etc.;
- the utility is free for the Russian audience (for non-commercial use);
- supports Russian;
- does not need installation (just download from run!).
*
STEP 3. Scan your drive
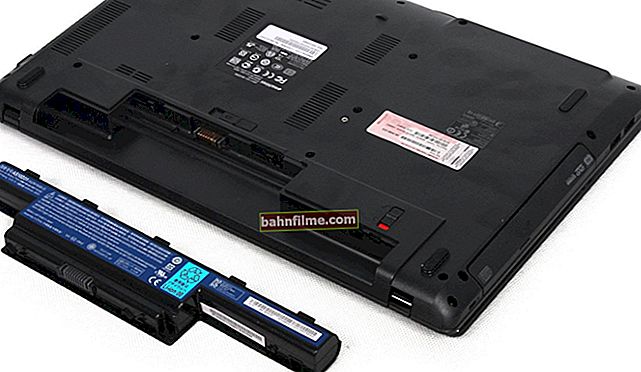
And so, I will show all the actions in R.Saver. After starting the utility, read the information in the main program window, check the boxes and click the button "Let's start" .

First launch, agree // R.Saver
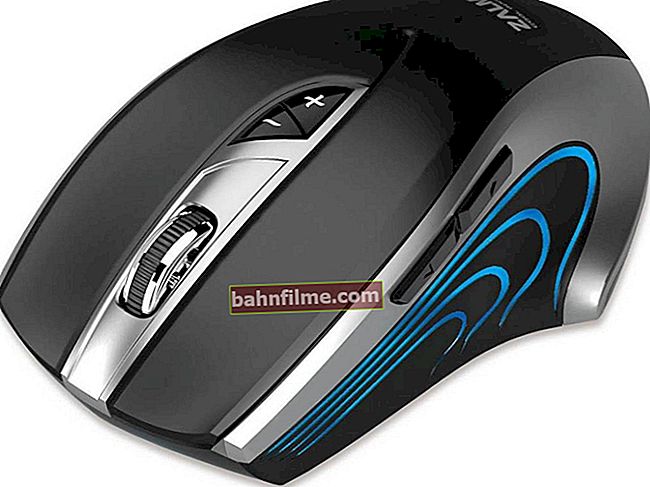
Then specify the drive on which the necessary information disappeared (was deleted).In my case, a flash drive (Generic Flash Disk) will be indicated.
👉 If suddenly the flash drive / memory card is not displayed, I recommend that you familiarize yourself with these two manuals:
1) The computer does not recognize / does not see the SD flash card - //ocomp.info/kompyuter-ne-vidit-kartu-microsd.html
2) Why the computer does not see the USB flash drive: 10 main reasons - //ocomp.info/kompyuter-ne-vidit-fleshku.html

Selecting the drive from which the files disappeared
Next, the program will ask you to specify a specific section (if you have several of them). Anyway, I recommend that you scan the entire drive, and just press the button "Ignore" as in the example below.

If the flash drive has several partitions ...
Actually, the next scan should start. It can be quite long, it all depends on the speed of your drive, its size. At this time, it is better not to interfere with the utility, and do not run third-party applications on the PC.

Analyzing the contents of the repository
*
STEP 4. Select and restore the required data
When the scan is complete, you should see all the files available for recovery that the program has found. Note that in some cases it is even possible to restore the folder structure!
You just have to select the folders you want to view on the left. Then check the boxes that you want to restore, and click the "Restore Selected" button (see number 3 and 4 on the screenshot below).
Note that if you do not need all the files in a row, you can manually restore something specific: use the "Save As" button (see number 2 in the screenshot below).

Several recovery options (clickable)
The last point: specify the location for the files to be restored
Just in case, let me remind you: you cannot restore them to the same USB flash drive / memory card that you scanned. Those. first, restore ALL the files you need to your hard drive, and then you can write them back to the desired drive.
Note: the fact is that if you immediately restore and save information to the same drive that was scanned, the data being restored will overwrite those that have not yet been restored (I apologize for the tautology).

Choosing a hard drive for recovery
*
That's all for now. Additions on the topic are welcome ...
Happy recovery!
👣
First published: 15.05.2018
Correction: 01/30/2020