User question
Hello. Tell me with two questions about the screenshots ...
1) I want to take a screenshot of a window on a laptop in one game (Windows 10): I press the PrtScr button, then insert the picture into Paint - but nothing is visible in the screenshot, just a black screen with a window. How to make a screenshot of any window in Windows so that everything is visible on it?
2) On this screen, you need to draw beautiful arrows and explanations, for example, the same as you have in some articles. I tried it through Photoshop - but it's long and tedious if there are a lot of screenshots. How do you do it quickly?
Good day!
Now, in order to create a screenshot (even a very beautiful one, with arrows and a description), you don't need to do anything, you just need to install and configure the special once. program and then use 1-2 buttons on the keyboard. 👌
In order to fully answer such questions from users, in the article I will show several simple and quick ways to create screenshots (including in the new Windows 10), both from games and from any other applications (even if in the classic way through the Print Screen key - visible black screen only).
*
Taking a screenshot
In the classical way (without additional software)
If you rarely take screenshots, then there is no point in installing additional programs and configuring something there.
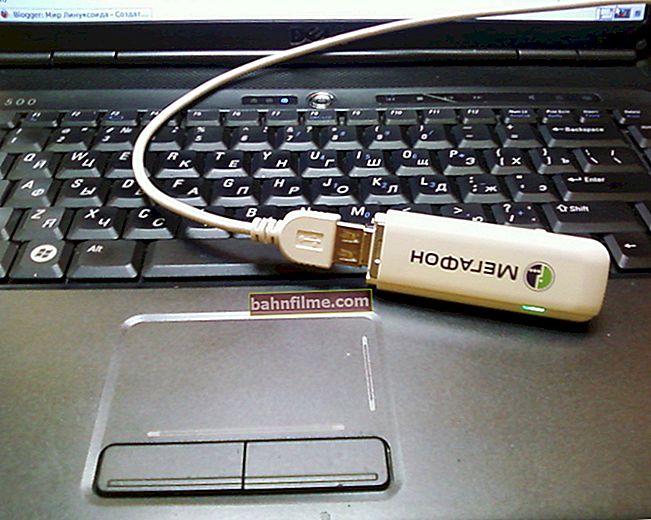
To do this, on any computer keyboard (laptop) there is a special key - 👉Print Screen (on laptops it is written in an abbreviated form -PrtScr). It puts on the clipboard everything that is currently on the screen.
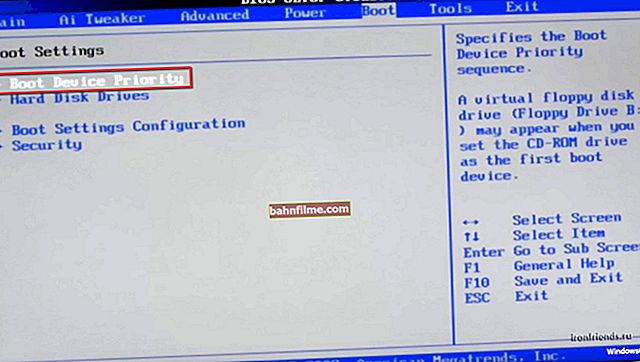
1) To capture (screen) current screen state - just press this button Print Screen (see the photo of the keyboard below 👇).

Print Screen button on keyboard
2) Next, open MS Word editor or "drawing" Paint (this is a simple graphics editor found in all modern versions of Windows).
How to open Paint (universal method)
In Windows 8, 10 - some users have a problem finding a shortcut to launch Paint ... To open it, press the key combination Win + R, then into the line "Open" enter mspaint and press Enter (see screenshot below).

Opening Paint - a universal way
3) In Paint click "Clipboard / paste" or a combination of buttons Ctrl + V... Actually, if you did everything right, in Paint you will see your captured screenshot. Now all that remains is to save it ...

Inserting a screen into Paint from the clipboard
4) To save click "File / save as" then select format (usually JPG, as the most optimal and popular) and save the file. Actually, that's all! 👌

File - Save As (Paint) / Clickable
Important!
If you have Print Screen key does not work (and therefore you cannot take a screenshot in any way), I recommend that you familiarize yourself with this note.
*
Windows windows (with arrows and highlights)
It is much easier to explain to another person what you want to show in a screenshot or photo - if you draw an arrow on it, or highlight a place where you need to pay attention (especially important for large screens).
To make such a beautiful screenshot quickly, you need special software. Now there are dozens of programs for creating screenshots, which come with a built-in editor (in fact, with its help you can easily add arrows, captions, crop edges, etc.).
👉 Note!
In general, there are hundreds of programs for creating screenshots. But not all of them work "normally" in new versions of Windows 7, 8, 10. Besides, some programs do not allow making screenshots of any windows and applications running in Windows.
One of those who "sees everything and everyone" is GreenShot (after using it, there should be no "black" screens, instead of a screen!).
GreenShot 👍
Official website: //getgreenshot.org/downloads/

A small but powerful program for creating screenshots. I will immediately describe its main advantages:
- built-in graphic editor: You can crop the edges, write labels, highlight the areas you want with circles or rectangles, crop the edges, draw arrows, etc.;
- automatic naming files: the default names are taken from the title of the application window. By the way, this is a very handy thing when you take a lot of screenshots;
- the ability to make screenshots as whole screen, and its separate area;
- customization hotkeys: the program will hang constantly in the tray, and as soon as you press the coveted combination of buttons, you will get a screenshot of the screen. Very comfortably!
- works correctly in all versions of Windows, including Windows 10 (the program requires Microsoft .NET Framework to work, although if you do not have it, the program will offer to download it).
How to screenshot a window in GreenShot
After installing and launching the program, you will have a characteristic icon in the tray - ... Click on it and in the menu that appears, select "Capture Region" (this means choosing an area on the screen to be captured, see the photo below).

Screen creation of any part of the window
Next, holding down the left mouse button, select the area that you want to capture (i.e. add to the screen). In my example below - I captured the area of the main window of the "Winyl" player.

Region selection
After the area is selected - it will automatically open in editor programs. Now you can, for example, add arrows, icons, etc.
In general, all the main tools are shown on the left:
 - an icon for dragging the selected elements on the screen (for example, if you put an arrow in the wrong place, you can move it to another place);
 - selection of a rectangular area;
 - selection of the oval area;
 - draw a straight line;
 - draw an arrow;
 - draw an arbitrary line;
 - add a text label;
 - inserting a dialogue (relevant if you have a character in the screenshot and you want to show that this particular phrase belongs to him);
 - counter (a circle with a number inside: 1, 2, 3). It is convenient to mark steps, or where and how to click with the mouse, in what sequence;
 - filling the selected area with yellow (transparent);
 - blur the selected area so that no one can make out or read what is displayed on it;
 - crop the borders of the screenshot (a beautiful cut, as if the picture was torn off);
 - cut the selected area (the rest will be deleted);
 - rotate the picture clockwise / counterclockwise;
 - resize the screenshot, for example, make 800x600 from 1024x768;
To add an arrow to the screenshot, just select this tool in the editor (in the left column) and put it in the right place (see the example below 👇).

Adding an arrow to the screenshot
Actually, after adding everything that is needed, all that remains is to save the screenshot: File / Save as ... ( File / Save As ... ). Your beautiful screen is ready (and no black screens)!
Note!
In order not to click on the icon every time in the GreenShot tray - you can open the program settings and set hotkeys ( General / Hotkeys section ).
- Capture Full Screen - make a screenshot of the entire screen;
- Capture Windows - capture the selected window;
- Capture region - capture the selected region;
- Capture last region - capture the same region as in the previous screenshot.

Configuring hotkeys
In general, the program has Russian, but it is not automatically selected during installation (you have to switch it manually).
*
Game screen
Many users, when they are looking for how to make a screen, understand by this getting a picture from a game.
In general, from many games it is impossible to take a screenshot in the classic way - for this you need specials. utilities. One of the most popular and convenient is Fraps (I recommend it!).
Fraps 👍
Description of the program: //ocomp.info/programmi-dlya-zapisi-video-s-ekrana.html#Fraps

The most popular program for game lovers. Allows you to monitor the number of FPS (frames per second) in any game, take screenshots and shoot videos of everything that happens on the screen (the program uses its own codec, which does not overload the PC, and video can be recorded even on old hardware).
In general, an irreplaceable thing for screenshots in games!
After installing and running the program, I recommend configuring the basic parameters.
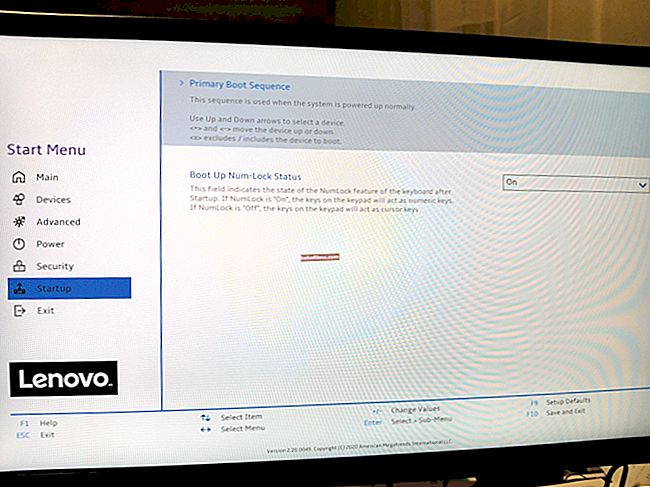
First open the FPS tab ... Notice two settings here:
- hot button to show / hide FPS (in my example below - this is F12);
- the angle at which the numbers will be displayed: the number of frames per second.

Setting up Fraps / FPS in the game
Next, open the Screenshots section. Here, set the following:
- folder where screenshots will be saved. In my case, it is C: \ Fraps \ Screenshots ;
- button to create screenshots ( example below is Page UP ).

Fraps setup / screenshots
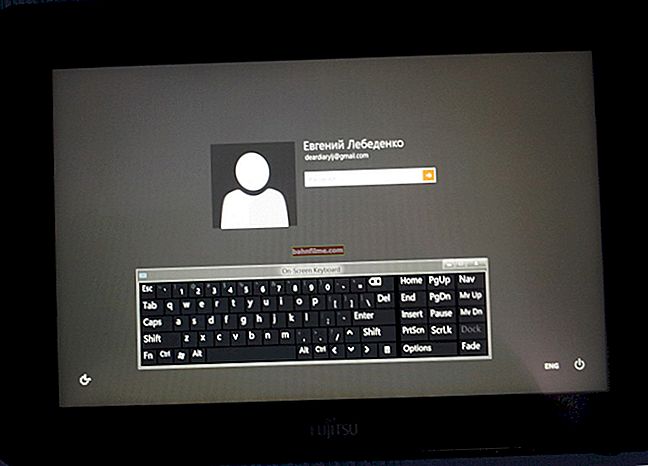
After setting Fraps , you need to start the game. By default, in the upper left corner of the screen, you will see yellow numbersthat will constantly change (this is FPS, which means Fraps works!).
Now it's enough to press the button Page UP (which we configured in the previous step) and the screenshot will go to our folder (by the way, the yellow numbers will typically blink at the same time).

Making a screen in the game / press Page Up
Actually, by going to the folder that was set in the settings (by default, it is C: \ Fraps \ Screenshots), you will find all the screenshots you made in it (now you can reshoot them using GreenShot and overlay arrows).

Ready screenshots
👉 Addition!

How to take a screenshot in the game: 4 ways - see the instructions.
*
A frame from a movie (screen shot when watching a video)
If you just open a video in some player and try to screen it by pressing the Print Screen button, you may well see a "black" screen, instead of the image itself, which was shown in the player.
In this case, you can act in a different way:
- use GreenShot (about this program - see a little higher in the article);
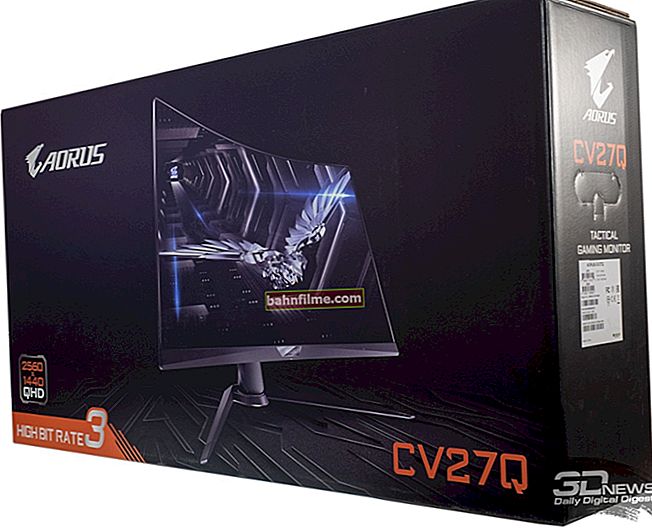
- use a player that has a screenshot function. One of these is 👉 Gom player .
Gom player
Website: //www.gomlab.com/

An excellent free media player that has all the major codecs in its arsenal - i.e. you don't need to download and install anything to watch the movie.
I also want to note in the program a large number of settings (you can configure it for different requirements, for different hardware), excellent modern design, easy navigation, etc.
And most importantly (within the framework of this article) - there is a special button at the bottom of the screen  to quickly create a screenshot of the current frame ...
So, launch Gom Player, then open some movie in it. Then we press the button (or a combination of buttons Ctrl + E). That's it - the screenshot is ready! 👌
The default folder where screenshots are placed is displayed at the top of the screen (usually, this is - "C: \ Users \ Alex \ Documents \ GomPlayer \ Capture" where Alex is your Windows account name).

Gom Player - Screenshot Creation
Going into the folder " C: \ Users \ Alex \ Documents \ GomPlayer \ Capture " - you will see all created screenshots. Bottom line: convenient, fast and easy!

Created screenshots
*
That's all for me, I believe that the issue of creating screenshots in Windows 10 has been completely sorted out. 👌
For additions on the topic - special thanks ...
Good luck!
👋
First publication: 2.01.2017
Correction: 01/05/2020