User question
Hello.
Tell me, how to take good bright juicy photos on a smartphone? I just compare my pictures with the pictures of other acquaintances and girlfriends, and some of them obviously do it much better than me ...
{the rest of the question is stripped}
Hello.
In general, I am not a professional photographer, but because There are a lot of such questions - below I will give a "couple" of basic things that can significantly improve your pictures. Of course, all this needs to be done in combination ... 👌
So...
*
Tips for improving the quality of your pictures
👉 Tip 1
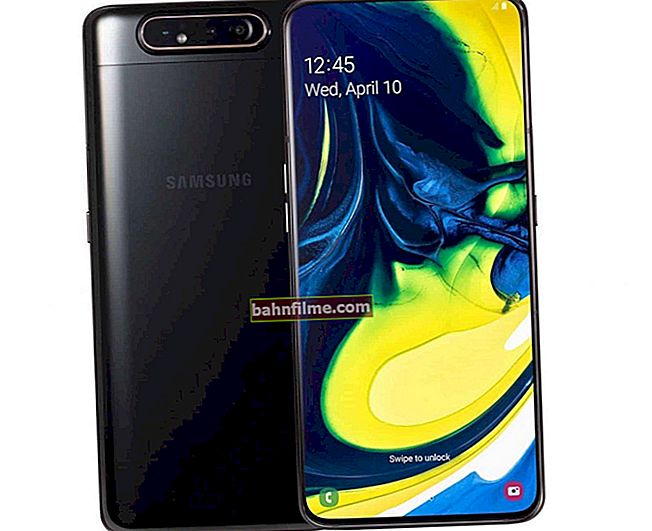
First, pay attention to the quality of the camera in your smartphone. In my opinion, today, in order to obtain high-quality images, a built-in camera is needed at least for 40MP (of course, a lot still depends on its model, on filters, etc., but still ...).
On many modern mid-price smartphones, you can find cameras of higher resolution (by the way, nowadays they usually install quad cameras: that is, several cameras combined into one "whole").

Camera
*
👉 Tip 2
Before taking a picture - focus the camera on the object (person) you want to photograph (for example, on my smartphone there is a "white circle" for this).
If you do not focus - definition your photo will be low (blurring possible).

Focusing on the desired subject
*
👉 Tip 3
Until your "hand is full", I would recommend taking 2-3 (4) photos from one angle. Then, it is always easier to choose one of the most successful photos from several photos!

Take 3-4 photos from one angle
*
👉 Tip 4
Pay attention to the lighting. Pictures taken in bright sunlight are much better and brighter than in cloudy (cloudy) weather.
By the way, the same applies to indoor shots: a lot can depend on the light source and its location ...

Pictures on cloudy (cloudy) and sunny days
*
👉 Tip 5
On a number of smartphones, the built-in application for shooting is very modest in functionality and does not always allow you to unleash the potential of the camera.
I would suggest trying third-party software. For example, I am now impressed by the 👉 Camera MX application (link to the Play Market). She has a number of settings and filters that allow 2-3 clicks to make the photo much brighter and more interesting!

Shooting app comparison
By the way, Camera MX, in my opinion, focuses better and more precisely. Less common are shots with blurry content ...
*
👉 Tip 6
Even not very good pictures can be process with the help of specials. programs and make them much juicier, livelier and brighter! For example, see 2 photos below: one "before" processing, the other "after". See the difference ?! 👌

Enhancing photography with Home Photo Studio
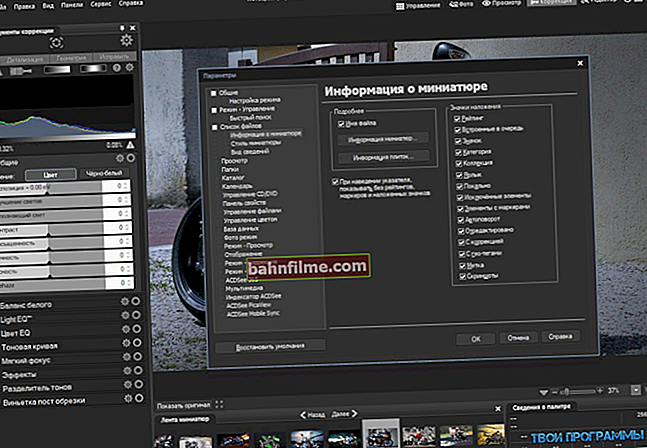
Of course, such processing it is better to conduct on a PC / laptop using specials. editors:
- firstly, all the flaws that need to be corrected are better visible on the big screen;
- secondly, working with photos on a PC is more comfortable (and faster in time);
- thirdly, PC applications are more functional (link below for help 👇).
👉 To help!
1) How to improve an unsuccessful photo: several effects on the photo (HDR, noise reduction, toning, etc.) and it transforms! (examples for beginners)
2) How to download photos and files from phone to computer - 6 ways
*
👉 Tip 7
If you don't have a PC at hand, you can process photos from your phone by installing a special. editors.
👉 To help!
Choosing a photo editor for Android (in Russian).
*
The most interesting in this regard are the following products (links to the Play Market):
- Snapseed
- Line Camera 👍
- VSCO
The applications are roughly similar in functionality, but in Line Camera (which I noted), many filters and options are available for free (so I recommend starting your acquaintance with it!).
Line Camera allows trim the edges of the photo, remove "pimples", moles (and other imperfections on the face), enlarge (reduce) the shape of the face, chest, arms, etc. And, of course, with the help of ready-made filters you can "adjust" the general background to the most optimal one: so that the photo looks the most advantageous!

Line Camera - photo processing
Note: by the way, I do not recommend getting too carried away with filters - after each of them the original quality can be distorted, various small details in the photo are blurred, and the picture itself loses its naturalness ...
*
👉 Tip 8
If you really want to be a good photographer, then in my opinion, it won't hurt you to read the tips from the professionals in their field. Now there are hundreds of different books, courses, etc. etc.

Books on photography (Ozone online store)
However, if photography is not a future "craft" for you, but simply a "hobby for the soul" - then step by step, stuffing cones, you will still achieve very good results over time (fortunately, the quality and functionality of technology is getting better every year and better. That is, time works for us ...)! 👌
*
Additions and recommendations on the topic are welcome!
Good pictures and good luck!
👋

