Good time!
Relatively recently I was solving one problem, and I thought that maybe someone else would encounter it (⇒ and jotted this note).
The situation is as follows: a computer with Windows 10 installed, and at first glance everything seems to be working. But when you connect any external storage devices (USB sticks, external HDDs, memory cards, etc.), nothing is displayed in the explorer (My Computer) (that is, as if no one had connected anything).
Scanning for viruses and malware yielded nothing. The USB ports are physically in order, the same printer, scanner work fine and there were no problems with them.
There is a problem with Windows (with some services, parameters, etc.). As it turned out, the reason was that the system had disabled auto-mounting of new mounted volumes.
It can be fixed simply and quickly, below in the article I will show in what order and what to do if you encounter a similar problem ...
*
What to do if the computer does not see external drives and USB sticks
STEP 1: make sure the USB port is working
Try connecting a phone, printer, scanner, mouse, etc. device to it - if the PC / laptop sees the device, most likely everything is in order with the USB port.
STEP 2: go to disk management
- press combination Win + R ;
- in the window that appears, run enter the command diskmgmt.msc and click OK.
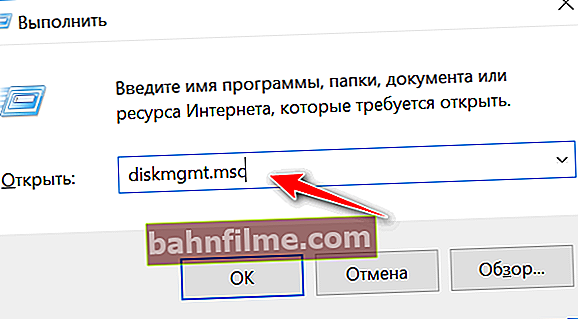
diskmgmt.msc - start disk management
- alternative: you can press the combination Win + X - a menu should appear in which there is a link to disk management (relevant for Windows 8/10).

Next, notice if the disk is visible there. If the USB port and the drive are in order, it will be in the list of available drives; you just need to right-click on its name and set a drive letter for it manually. See screenshot below.
To help! If your drive is not displayed in Disk Management, then the problem is clearly beyond the scope of this article. I recommend that you read my two previous instructions:
- why the computer does not see the external hard drive - //ocomp.info/pc-ne-vidit-vneshniy-hdd.html
- The PC does not see the USB flash drive - //ocomp.info/kompyuter-ne-vidit-fleshku.html

Change drive letter or path - disk management

Change drive letter.
After that, a drive will appear in my computer, you can start working with it.
STEP 3: check if the "Virtual Disk" service is running
The problem with the lack of auto-setting of the drive letter is often associated with the non-working "Virtual Disk" service (or "Virtual Disk" in Russian, depending on the version of your OS). Those. it is necessary to check whether this service is running, whether it is worth its automatic startup type.
To do this:
- press the button combination Win + R - the "Run" window should appear;
- enter command services.msc and click OK;
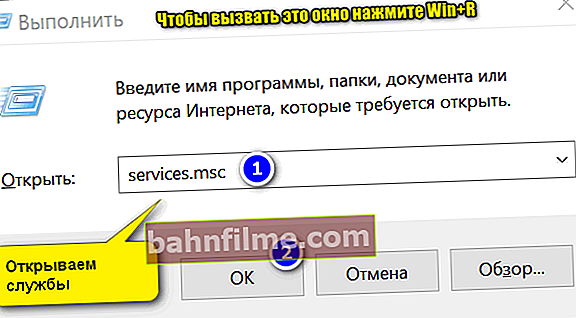
Opening services - services.msc (universal method)
- then find this service in the list and open it (I have a Russian-language version of the OS - that's why I chose "Virtual Disk") ;
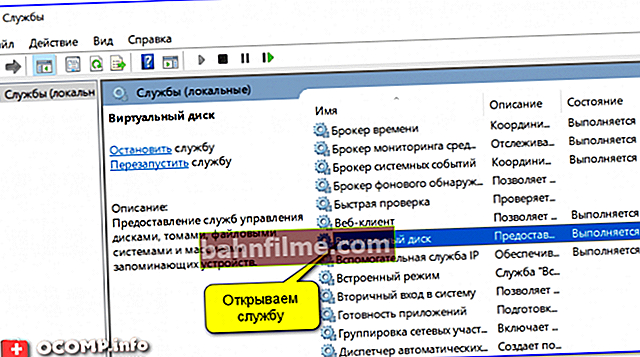
Services (Windows 10) / Clickable
- we need to run it and set the "Startup type" line to automatic mode (as shown in the screenshot below);
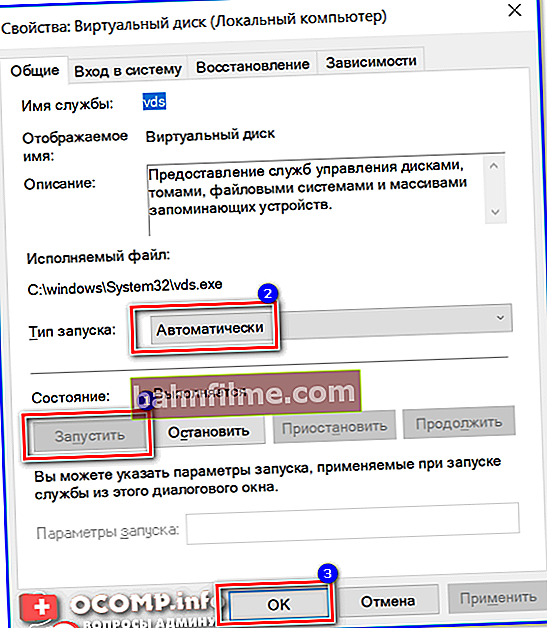
Virtual disk
- then restart the computer and check the operation of Windows with the connected drives.


STEP 4: enable the auto-mount feature
By default, Windows has auto-mount enabled - i.e. all disks and flash drives are automatically connected to the system (if necessary, the OS will install the driver to access the drive) , their file system is mounted and a free drive letter assigned.
However, in some cases this function can be disabled (for example, antivirus programs can do this for security purposes; programs for working with images, etc.).
And so, how to check if auto-mount is working:
- first you need to run the command line: press Win + R , enter CMD and press Enter (other ways to start the command line are //ocomp.info/kak-otkryit-komandnuyu-stroku.html);
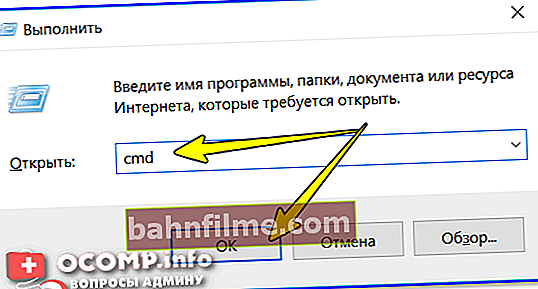
cmd - run command line
- then enter the command diskpart and press Enter (you should have another "black" window);
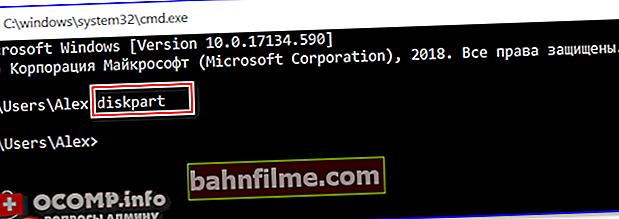
command line - diskpart
- in the window diskpart enter command automount and press Enter. You should see if the connection of new volumes is enabled (in my case, it was disabled!).
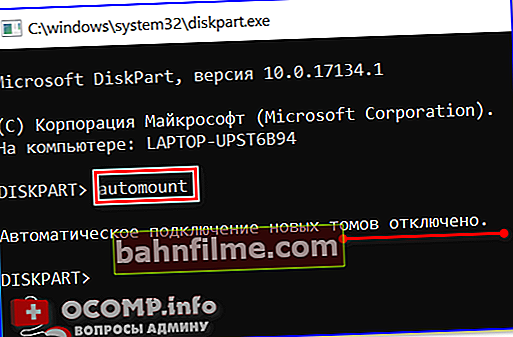
Automatic mounting of new volumes is disabled
- if volume mount is disabled, enter the command automount enable and press Enter (a message should appear that auto-mounting of new volumes is enabled! See example below);
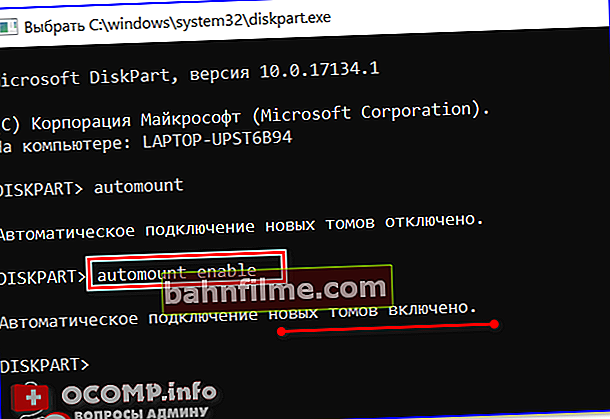
Automatic mounting of new volumes is enabled!
- restart your computer and try connecting an external drive (or flash drive) to USB. Ideally, it will appear almost immediately on my computer (see the screenshot below).
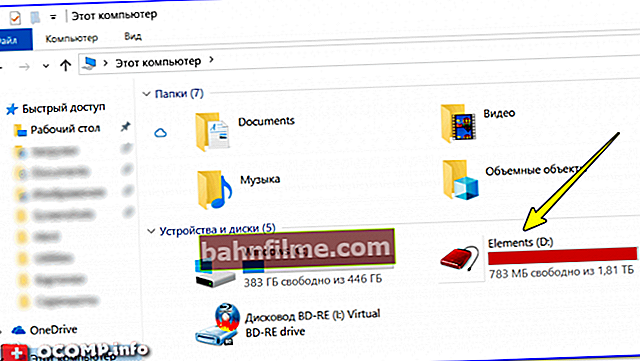
The disk is connected!


*
Additions on the topic are welcome.
Happy work!
👋