User question
Hello.
Tell me, how can I encrypt the data so that no one can access them without me? Well that is you connect such a disk, and it asks you to enter a password, otherwise you will not get access to the files.
Part of the question has been cut out ...
Good time!
I do not fully understand about encryption, but the main message is clear. To begin with, I would like to make a small remark about encryption ...
In this matter, a lot depends on your requirements and tasks - from whom do you hide information, from ordinary work colleagues, or from professionals, hackers? If in the first case you can use the simplest products and be relatively calm, in the second - I don't even know what to advise (since I don't seriously deal with this topic, but "rumors" are different). Unless, to store data on a separate medium, to which no one can physically get close but you ...
In general, this note is designed just for those who are faced with the first type of tasks (i.e. you need to encrypt data not from high-level professionals). So...
*
Ways to create an encrypted disk
Option 1: Built in Windows - BitLocker
If you have Windows 10 Pro (or higher) installed, then in its arsenal there is a built-in ability to encrypt a disk, USB flash drive, and any other drive. Why this method captivates: reliably, quickly works, nothing needs to be installed and configured additionally.
Note: if you have a home version of Windows 10 (and when buying a PC it is usually installed, you have two ways: either upgrade the OS to the Pro edition, or use other methods described in the article).
I will show with an example how you can encrypt information on a disk (and set a password to access it):
- first open the explorer (Win + E), the "This computer" tab;
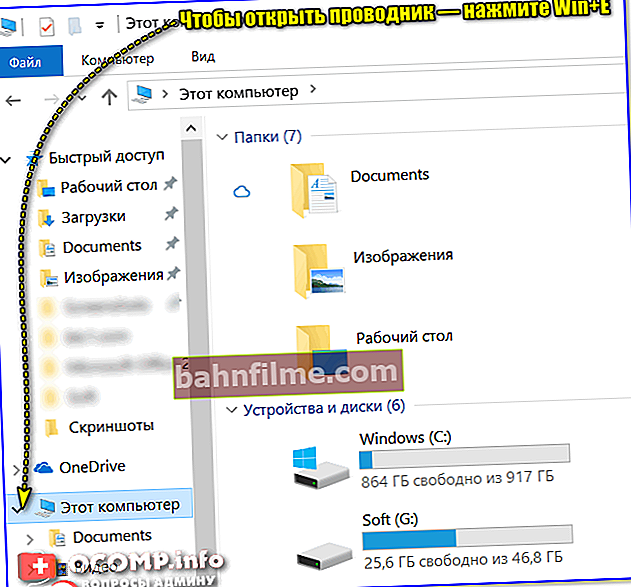
Explorer is this computer
- then select the disk that we want to encrypt, click on it with the right mouse button and click on the item in the context menu Enable BitLocker (see screenshot below);

This PC - Enable BitLocker
- then you need to set a password (on how to choose a strong password), and press the button "Further" ... After that, your drive will be encrypted;
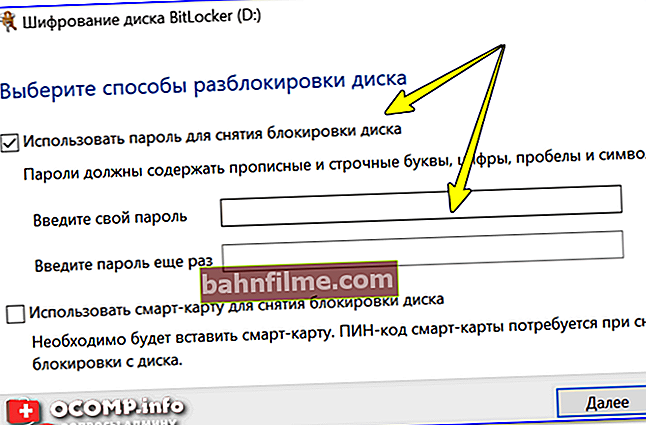
Use a password to unlock the drive
- note that the encrypted disk in the explorer is displayed with a "lock" (see screenshot below);
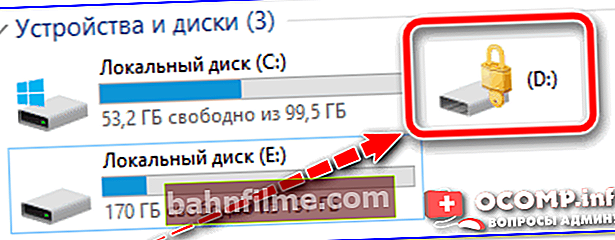
What does an encrypted disk look like?
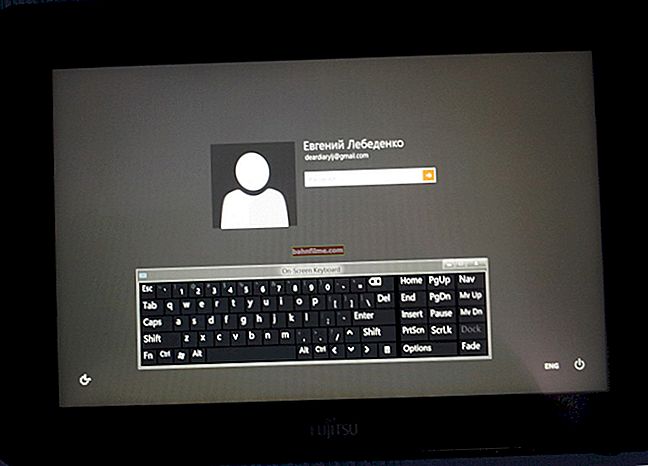
- to open such a disk and start working with it fully, you must enter the correct password.
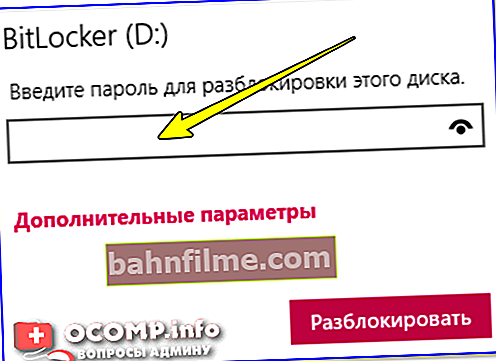
In order to open the disk and access the files, you need to enter the password


Important!
Keep in mind that if you lose your password, most likely you will lose all files on such an encrypted disk (i.e. you simply cannot access them)! Be careful and don't use passwords that you won't remember tomorrow ...
Option 2: using the capabilities of Virtual CD
Virtual CD is a program for working with images (like Alcohol 120%, Daemon Tools, etc.). But what distinguishes it from other analogs is its more advanced functions. For example, it can create encrypted disks, compress ISO images, convert one image to another, etc. In general, a good multifunctional "combine" for working with images. 👍
Note: a more detailed description of Virtual CD (as well as a link to download the software) is presented in this article - //ocomp.info/programm-dlya-sozdaniya-iso.html#Virtual_CD
And so, I will assume that the program is installed and the Russian language is enabled (by the way, in my example I used the Virtual CD v.10.7 version, if you have a different one, some differences are possible).
After starting the program, go to the section "Tasks and Tools" and run editor .

Tasks and Tools - Editor (Virtual CD)
The editor window consists (conditionally) of 2 parts:
- upper: your files on your hard disk are presented here (just drag the necessary files from here to the lower part. See the example in the screenshot below);
- bottom: this is the image (disk) being created. Here you can add (drag and drop) any files from the hard disk (i.e. from the top).

Add files to the image / Clickable
When all the files have been added, click on the button in the top menu "Create Virtual CD" .

Create virtual CD
Next, you need to do the following:
- specify the folder where our encrypted image will be saved (number 1 in the screenshot below);
- in the properties of the image, indicate that it will be a virtual CD and select the 4th compression level (numbers 2 and 3);
- then go to the "Settings" section.

Imaging settings
Here you need to specify a password and put a tick in front of the encryption item (example below). Then just click on "Create" and wait until the end of the operation.

Use encryption
The resulting encrypted disk consists of 2 files (with the extensions "000" and "vc4"). When you try to open this image - Virtual CD will ask you for a password (see screenshots below).
Note: Virtual CD allows you not only to insert this image into a virtual drive and work with it as with a regular CD, but also to edit it.

Trying to open the resulting image

Need a password - hmm ... But the program works!
Option 3: use True Crypt, Vera Crypt, etc.
If you have more serious data protection requirements, then you need to use specialized software for these tasks. Some of the most famous products in this category are Vera Crypt, True Crypt, Drive Crypt, Disk Cryptor, PGP Personal Desktop, etc.
In my article I will focus on the product Vera crypt (it supports Russian, is easy to configure and operate. At the same time, it provides a very high level of security).
Vera crypt
//www.veracrypt.fr/en/Downloads.html

Software used for on-the-fly encryption. Vera Crypt is a free and open source project that was launched on June 22, 2013 as a fork of True Crypt (more on Wikipedia).
Creating an encrypted volume
In my example, I am using Vera Crypt 1.23 (for Windows, of course).
And so, you have just installed and launched Vera Crypt. The program window, by the way, looks rather austere and "boring".
The first thing to do is create an encrypted volume (i.e. disk). It is in this volume that your data will be placed, which you want to hide from prying eyes. To do this, use the button "Create volume" (example on the screenshot below).

Create Volume - Vera Crypt
Next, specify the first option - "Create encrypted file container" (note that the program can even encrypt the system drive!).

Create encrypted file container
In the next step, the program will offer us to choose the type of volume: normal or hidden (the second option provides a higher level of security). In my example, I chose the first type.

Regular volume
Then set the folder in which your encrypted volume will be stored (later you can transfer it).

Volume placement - Vera Crypt (later can be transferred)
Next, Vera Crypt will offer to choose an encryption and hashing algorithm. I recommend leaving the default (AES, SHA-512), which provide a very high level of security.

Encryption settings
In the next step, set the size of the volume (here, start from your task of requirements ...).

Volume size
Then enter the password (by the way, Vera Crypt allows you to set passwords that are long enough - as much as 64 characters!).

Setting a password to access the disk
Next, you need to answer the question: will the volume contain files larger than 4 GB. I recommend, just in case, to answer "Yes".

Determining the file size
The next step is interesting enough:
- you need to specify the file system (I recommend choosing exFAT or NTFS);
- choose whether the disk will be dynamic (if you enable this option, then the volume size will grow as it fills, and not immediately to the maximum value that you specified in the previous steps);
- move the mouse until the bar of entropy from its movement is filled (green, at the bottom of the window);
- then click on the button "Mark up" .

Partition (dynamic disk) - Vera Crypt
Actually, that's all - that was created!

Disk created
Mounting a volume and using it as a disk
Now, in order to copy files to an encrypted volume, it must be mounted. It is quite simple to do this:
- first indicate where it is located (see arrow-1 on the screenshot below);
- then specify the drive letter (for example, "A:");
- then click the "Mount" button.

Select the volume, drive letter, and mount it
Vera Crypt will ask you to enter the password (which you set when creating the volume). Please note that if you create several volumes, you can set your password to access each of them!

We specify the password
If the password was entered correctly, the volume will be mounted and the specified letter will be assigned to it (for example, "A:") .

Disk connected
As for the work: by opening the explorer, you will not even notice the difference between a regular disk and an encrypted one. See screenshot below.
You can also copy any information to such an encrypted disk, edit it, delete it, etc. True, it is worth noting that in some cases access to it may be somewhat slower, especially when you place this encrypted volume somewhere on a USB flash drive ...

You can work with an encrypted disk as with a regular one
After you have worked with the volume, you must turn it off (so that unauthorized people cannot access the encrypted data when you are not at your PC). To do this, Vera Crypt has a button "Unmount everything" ... After pressing it, all volumes will be unmounted (of course, encrypted disks will no longer be displayed in "This computer") .

After working with the disk - unmount it!
*
That's all for now, good luck!
✌