User question
Hello.
I have 2 laptops and a PC at home. Sometimes you need to transfer some files from your PC to your laptop (or vice versa). Is it possible to somehow connect them to each other so that this can be done without using flash drives, directly?
Good time!
Of course you can! .. Most likely you already have a router at home, thanks to which laptops (like PCs) are connected to the Internet (plus they are all already connected to a local network). And in this case, it will be enough just to share the necessary folders ...
However, be that as it may, in the article I will consider 2 options for possible events ... 👇
*
Connecting laptop to PC
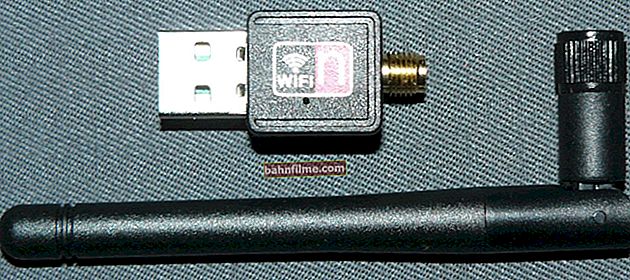
Method 1: using a router
And so, as I said above, this method will be relevant if your laptops are connected to a Wi-Fi network, the computer is connected to the router with a cable.
There are no problems with access (i.e. there are no exclamation point triangles or red crosses on the network icon).

Connected to a router
Note: I will assume that Windows 10 is installed on both PCs and laptops (in principle, with Windows 7/8, almost all actions are the same).
STEP 1
The first thing to do is check PC names and working groups (on all laptops and computers between which you plan to exchange files, network games, etc.).
Important:
- PC name - must be different on all computers;
- working group - the same on all computers!
This can be done through the control panel: tab "System and Security \ System" (or open properties in "my computer").

Computer and workgroup name
Note: after changing the workgroup - restart the device.
STEP 2
Then you need to go to the Windows Control Panel in the tab: "Network and Internet \ Network and Sharing Center" and click on the link to change additional. sharing options. See screenshot below.

Change sharing options
Next, you need to enable network discovery, share printers and files, and disable password protection (by default, Windows 10 prohibits everything!). Moreover, you need to do this for three profiles: private, guest, all networks.

Enable Sharing
Of course, these network parameters must be set on each of the laptops and PCs on the network.
STEP 3
Now everything is ready, and you can start sharing (sharing) folders and disks. Let's say you decide to make the "D: \" drive publicly accessible to all computers on your local network. For this:
- first go to "My Computer" and open the properties of the disk;
- in the tab "Access" click on the advanced settings button;
- then check the box "Share this folder" and save the settings;
- note that a few people will appear on the disk icon (i.e. it has become public).

Public disk
STEP 4
Well, the final touch ... How now to find all those folders and disks that have been shared? ✔
It's very simple: just open the explorer and click on the tab "Net" - it will display all PCs and laptops in the local network (which are currently on).
By clicking on any of them, you will see which folders and drives it has publicly available (in my example, only the "D: \" drive is shared). Having entered this folder, you can work with files in the usual way ... ✌

How to see which folders are shared
In general, that's all, the problem is solved!
Method 2: connecting with a network cable

network cable
STEP 1
And so, first you should do one thing important note - network cables on sale can be of two types: one for connecting a PC to a PC (or a laptop to a PC), others - for connecting a PC (laptop) to a router.
In our case, we need crossed network cable (or cross-cut cable). For such cables, the yellow and green pairs are swapped at the end connectors (note: for cables for connecting a PC to a router, the colors of the contacts are the same).

Two laptops connected by cable
The connection process itself does not represent anything complicated: just connect the cable to the network card of the PC (laptop). Usually, the LED next to the network port starts blinking (then everything is fine).
STEP 2
Next, you need to open network connections: click Win + R , and use the command ncpa.cpl (a universal method for different OS versions).

ncpa.cpl - View all network connections
Among the network connections, you must have (at least one) with the name Ethernet (this is the adapter to which we connected the network cable). You need to open it properties (by the way, no crosses should be lit on it).

Properties (Ethernet)
Then go to the properties of "IP version 4" and set the following parameters:
- IP address: 190.168.0.1
- Subnet mask: 255.255.255.0

On the first laptop (PC)
On the second computer (laptop) also open Network Connections, Ethernet Properties. Only now you need to specify a few different parameters:
- IP address: 192.168.0.2
- subnet mask: 255.255.255.0
- default gateway and preferred DNS: 192.168.0.1

On the second laptop (PC)
STEP 3
Further steps for setting up the network will not differ in any way from what I was instructed to connect using a router. Therefore, you can go to the first step and continue with the configuration ...
To help!

Why Windows 10 does not see computers on the local network (there is nothing in the network environment) - //ocomp.info/windows-10-ne-vidit-kompyuteryi-v-lokalnoy-seti.html
*
That's it for now, additions are welcome ...
All the best!
👋