Good day.
If your external hard drive is no longer displayed when connected, or does not show signs of life at all, do not rush to throw it away and write it off. After sitting for 5-10 minutes with a screwdriver, you can try to repair it and restore it to work. 👌
In general, I do not professionally repair hard drives (I only load them professionally 😊), therefore, everything described below is just my experience and my point of view.
Important!
Guided by what is written below - you can damage the disk and lose all data on it. If there are important documents on the disc, it is better to take them to the service center to specialists.
Everything that you do further in the article - do it at your own peril and risk.
So...
"Repair" external HDD
In general, of course, the word "repair" is too loud in this article, but there is no other way to convey the meaning ...
Not so long ago, they brought me an external hard drive, which refused to work: when connected, a light bulb (LED) came on and immediately went out ...
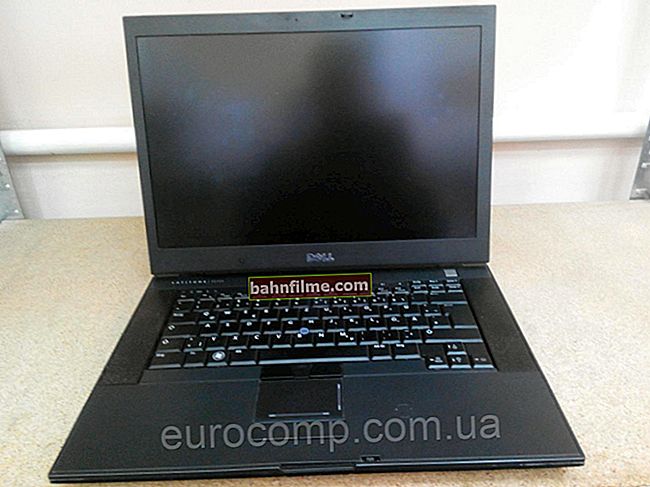
Further, the hard drive did not react in any way until you unplug and plug it back into the USB port. By the way, the disk is a fairly popular model today - Seagate Back Up Plus Slim 2 Tb BLACK.

Fig. 1. External hard drive Seagate Back Up Plus Slim 2 Tb BLACK
A bit of theory
An external hard drive is a small box with a USB cable, inside which is a normal hard drive and a small board (controller), a kind of adapter from the USB port to the SATA input of the drive.
So, very often it is not the disk itself that fails (unless, of course, you dropped it), but this scarf. By the way, in many models of disks it is very thin and fragile, it can be damaged once or twice.
thereforebefore you put a "cross" on the external hard drive - you can try to open it, get the drive itself and connect it directly to a PC / laptop, or insert it into another BOX.
How to disassemble an external drive
Specifically, the Seagate Back Up Plus Slim 2 Tb BLACK model can be opened very easily - just pry off the lid with a knife (see the red arrow in Fig. 1).
Important!
Not all disc models are so easy to disassemble. Some are generally sealed "tightly", and to open them you need to break the case (at the same time, there is a great risk of killing the HDD itself).
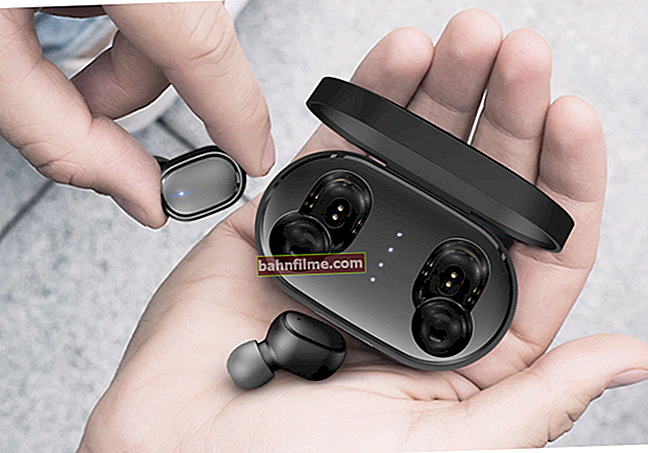
Actually, in Fig. 2 below 👇 shows an external drive as it looks from the inside: a small board / adapter connected to a regular 2.5-inch drive. Nothing tricky ...

Fig. 2. External hard drive - inside view
👉 By the way!
There are often cases when you open the case, you will see loose contacts, a crack on the board, etc. defects - if you have experience in soldering, you can try to restore the board.
Next, you need to carefully disconnect the disk from this board and remove it from the case.

Fig. 3. Disc ejected
The next step - connecting the drive to a computer / laptop. There are two options here:
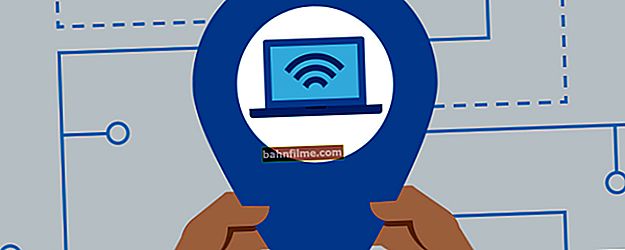
- or buy a separate BOX (👉 for example, on AliExpress for a couple of hundred rubles) for the disc and insert it there. Get the same external hard drive, only in a different case;
- or connect it directly to the PC, like any other drive (by the way, this is what I recommend doing (for a start 👌) to make sure it works).
👉 To help!

Instructions: how to connect a hard drive from a laptop to a PC
The photo below shows how I simply "hung" this drive on a SATA cable to diagnose its performance.

Fig. 4. The removed disk is connected to the PC
So, the disk I removed turned out to be completely functional. Having connected it to the SATA port of the computer, I was able to copy all the information from it. In general, having bought an external BOX in addition, it still serves faithfully ...

Fig. 5. External container (BOX) for the disk - looks the same as if the external HDD was originally

Fig. 5.1. What is BOX. BOX for connecting a disk to USB (approximate diagram for understanding)
The motive of the article is as follows: Before throwing out your old non-working external HDD, check the drive itself, perhaps you can "repair" it so easily and quickly. ☝
*
That's all for now.
Good luck to all!
👋
First publication: 01/06/2017
Correction: 01/05/2020